Friday, October 31, 2025

 Happy Halloween!


Pam Pabst Halloween Angels


Melissa Shirley Witches (I think)


Saturday, October 16, 2021

. . . So, how's your quarantine been going?

Apparently COVID is not over yet (in spite of such high hopes in June and July). . . but I'm certainly getting out more and more.  So is what do you say when greeting someone you haven't seen since pre-COVID?  Do you ask for a quarantine recap?

It seems to me there are two basic types COVID copers (i.e. those who cope):  One has been a productive wonder -- every nook and cranny cleaned, multiple projects completed, tons of stitching complete (and probably framed and hanging on the wall).  Alas, this is not me.  I'm in the other category -- of folks almost paralyzed by the shut downs -- lots of TV watched, lots of books read, but nothing really accomplished.

I'm not sure why I haven't been itching to stitch, stitch, stitch.  But I haven't.  So, having confessed, I will begin documenting what very modest progress I have made.  Maybe that will get my fingers moving.

I won't have as many pictures as I'd planned as I stitched, since many were lost when my 2-year-old i-Phone died without backup.  Drat drat, drat.

So....here's a picture of my pastoral panel from May of 2020:


The most recent additions at this point are the little red and white snake and the frog;   

The snake is stitched in straightforward detached button hole (DBH), but compensating for the wavy bottom area was tricky and didn't end up as smooth as I would have liked.


The frog is also basically DBH, but has a tweeded look because it is worked with two different colors  threaded in the same needle.  He's outlined in yellow, with some additional body detailed also in yellow.  Not only does the "tweed" technique create an interesting look, but I find it is somewhat easier to get a nice even thread tension.  


I am currently pondering whether to add eyes to both little critters. . . . maybe just little French knots. . . or would a frog have more bulging eyes?  The problem with both, or course, is if the test eye(s) aren't very successful, they can be hard to remove without disturbing the underlying DBH base.    


Saturday, July 18, 2020

I Saw the Bacton Altar Cloth

Way back in pre-Covid February, 2020 DH and I spent a rainy week in London.  One highlight of the trip was the chance to see the Bacton Altar Cloth, then on display at Hampton Court. 

Research has recently confirmed this altar cloth as having been created from a dress belonging to Elizabeth I, making it the only known surviving piece of her clothing.   Even better, this gown was also immortalized in the Rainbow portrait of Elizabeth.

In its long history, the gown was given to Blanche Perry, one of Elizabeth's favorite ladies.  Blanche, in turn, had ties to Bacton, and at some point the dress (or fabric from it) was given to the local church where it was transformed into an altar cloth, which was used for many years, and eventually rediscovered and hung on the church wall.

Several of my own photos are posted below.  But there is LOTS of interesting info on youtube with many great professional photos, and focusing on such topics as the discovery of the cloth, the research process establishing the cloth's provenance, the portrait in which the original dress appears, and even a project that recreated the dress. 

Here are what I think are the best links: 

https://www.youtube.com/watch?v=mjai9PoRMo8

https://www.youtube.com/watch?v=BD1Fy1WGqLk

https://www.youtube.com/watch?v=RYgnv7l7dX0

https://www.youtube.com/watch?v=qkdTqkXvgpc

https://www.youtube.com/watch?v=eAKa53evBSM

Below is a sampling of my own photos.  As often true in museum settings, you could only get so close. . . and VERY frustratingly, it was impossible to see the small details including exactly how the stitching was done.  I spent about a half hour viewing the cloth and chatting with two other ladies I met there (both obviously stitchers as well). 


Although from about a foot away, the stitching seems to have a lot of dimension and texture similar to various detached buttonhole stitches, large scale sample of two motifs displayed with the cloth indicates most of that dimension was created with many, many, many tiny straight stitches.

It was a wonderful treat to see this rare survival in person.   Perhaps there are other unrecognized pieces of historic costume still out there to be discovered.  And hopefully by the time they're found and ready to be displayed, we'll all be able to jump on airplanes again and go see them ourselves.


Monday, August 5, 2019

With Apologies to Historical Purists

Another small section complete!  A special hurrah since this is a section I've stewed about.  In the original this little stem alternates -- sort of at random -- between ceylon stitch in gold and in ceylon stitch in green silk.  But to my eye that looked really messy. . . so I've adapted again, and done the stem entirely in gold.  I think it works OK.

Here's the stem in process . . . representing one afternoon's work:


And here is the completed stem.  If you look carefully you can see that up towards the top -- near the second pear -- I switched between a 3 and 2 stitch width.  Further down the stem as it widens out, the individual stitches become spaced a little further apart.


I do not have a very good photo of the original,but here's a sort of fuzzy picture of the stem in question.  I think you can at least see how in my mind at least, the alternating green silk and gold creates a rather messy look.

Thursday, July 25, 2019

Like Stampeding Snails

Some more very modest progress. . . at a constipated snail's pace . . . but progress nevertheless:

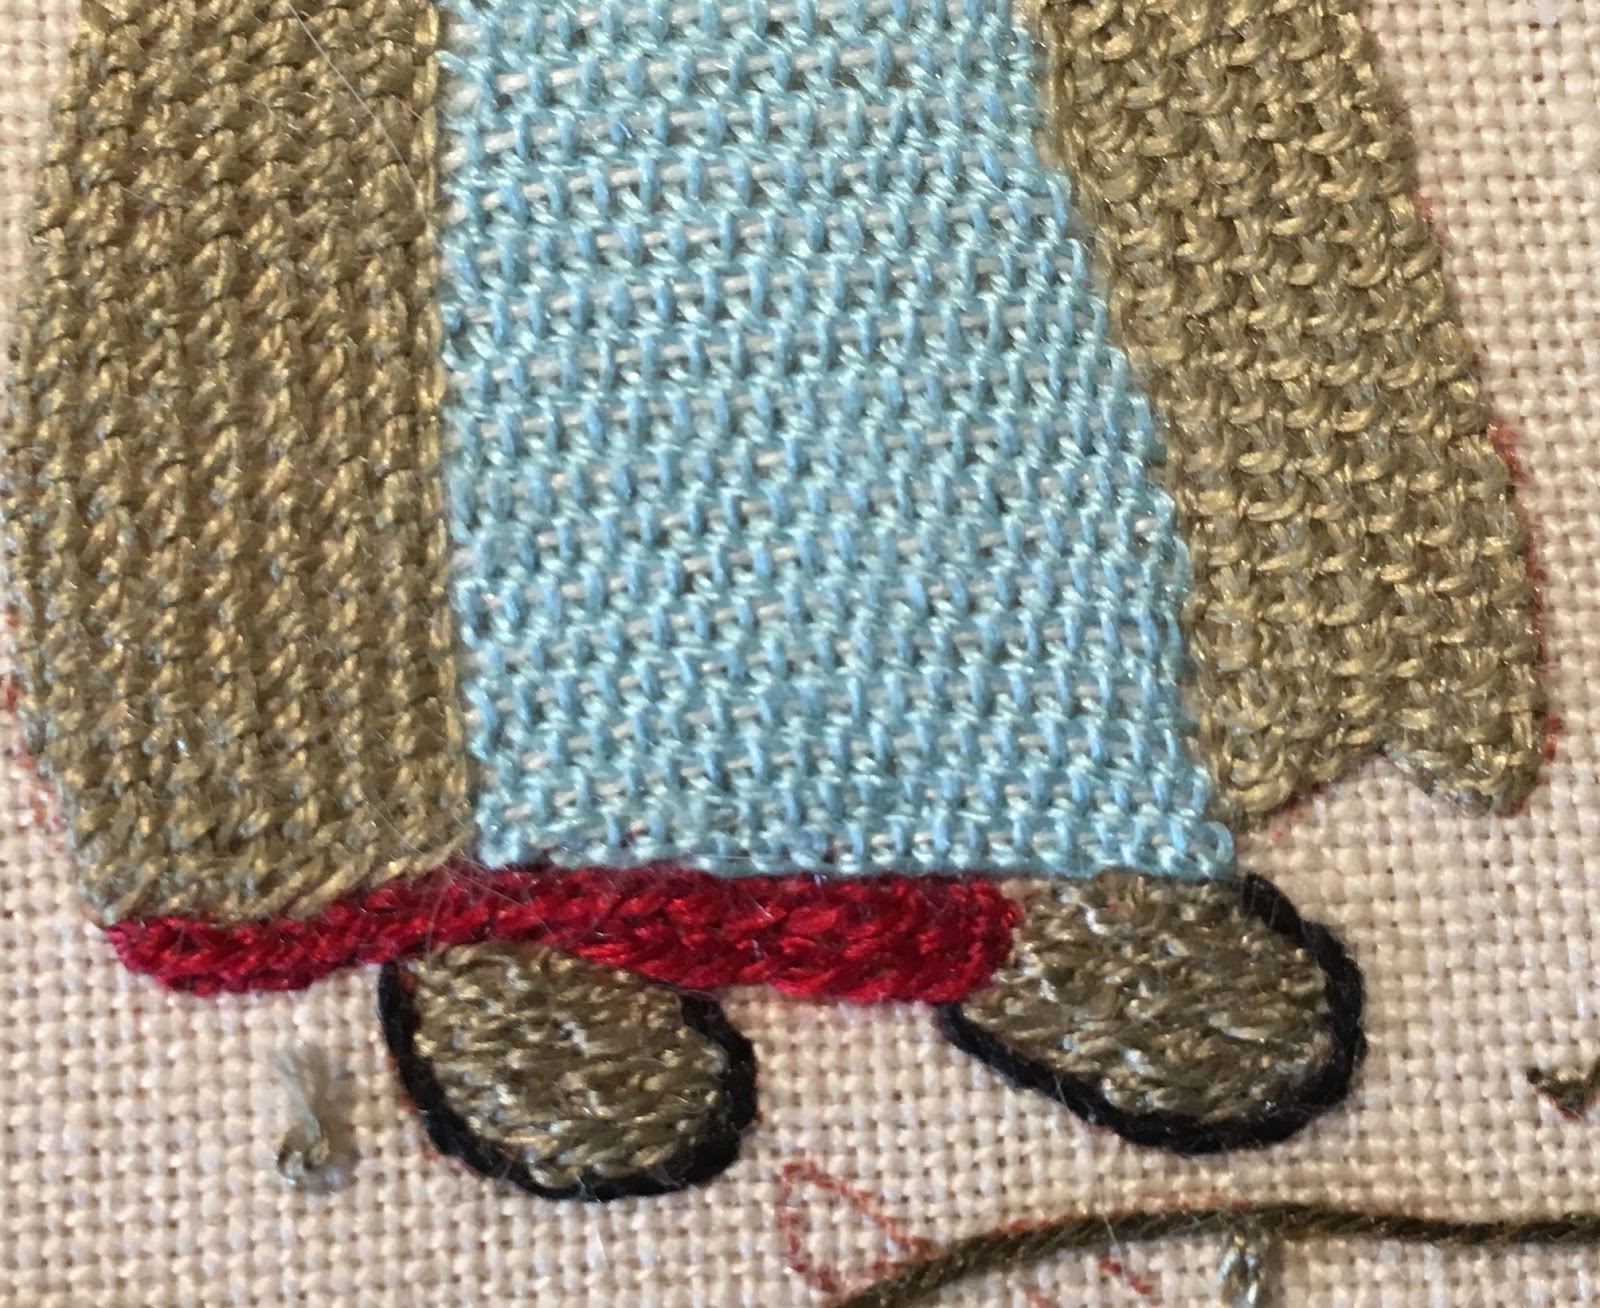
Some fancy footwear done in tightly packed cable chain stitch:


A blue and white butterfly, with detached button hole body and wings of detached buttonhole over silver return:


And, finally, a leaf filled with alternating green silk and gold metallic in cable chain:


Thursday, March 7, 2019

So What Exactly IS That?

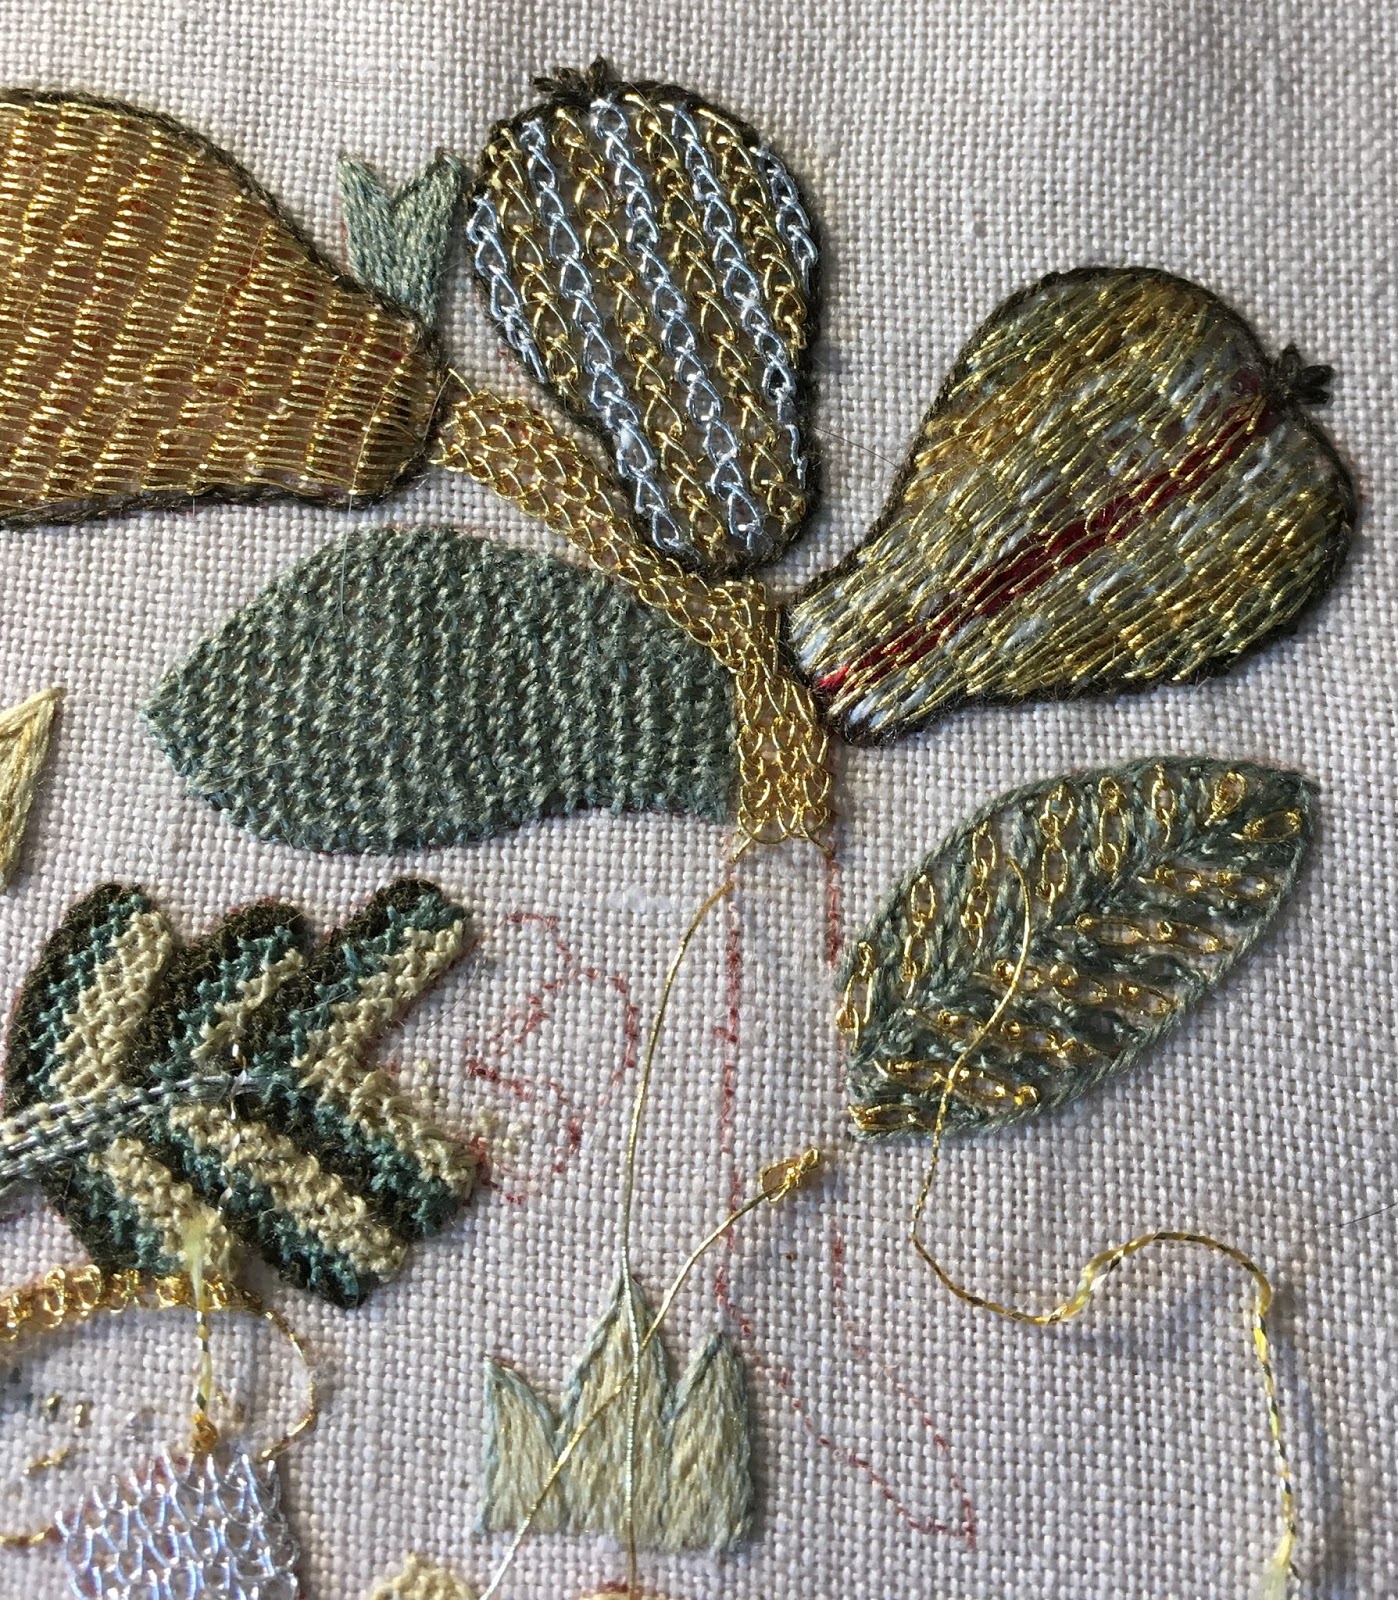
Going back to the photo ending the previous post (copied below), you can see an odd shape between the two pears.   It's shown really clearly on the traceable pattern sheet.   My question has been, "what exactly is that?"


It doesn't really look like a leaf. . . or a pear. . .  To me it appears very blob-like, which bugs me.  I don't have a good high-res photo of the original piece, but the photo I do have looks pretty much like the traceable pattern.

So what to do about it?  If it were possible, I think I'd make it into a nice leaf shape, but I can't figure out how to do that without leaving a fair amount of the existing outline visible.

The stitching instructions refer to it as a pear.  So maybe it's a pear. . .or could be a pear.  A little sketching on the traceable outline resulted in the following that creates pear-like shape that also covers all the indelible lines.  Here's the new pear drawn in water erasable marker over the blob shape.


And here's the stitched shape, outlined in dark brown to match the other pears (my addition for consistency among my trio of pears) and filled with alternating rows of silver and gold Van Dyke.


So my piece has a trio of pears.   Onto the next problem.

Sunday, January 27, 2019

A Pair of Pears

New year. . . same slow stitching pace, I'm afraid.

But some stitching has been done.

This week's accomplishment is the second "woven" gold leaf.  The photo below shows the two pears together.  Both use the same technique -- laid parallel linen threads with the working threads worked over and under as shown in the second photo.  The pear on the left is stitched with gold thread alone.  In the smaller pear on the right, the working thread consists of gold thread plus one strand of colored silk. 


Tuesday, July 17, 2018

Some Modest Progress

Not much stitching around here recently.  And most sewing I have done has been new curtains for the kitchen and miserable hemming of t-shirts.

I do have some very modest progress to share.   Over the last month, various elements of the upper branch on the pastoral panel have begun to take shape!


Thursday, July 20, 2017

Haute Couture, Anyone?

I've started working on the clothing of the two figures.  Most of it is done in detached buttonhole. . . with occasional other stitches mixed in here and there.

For me, the real challenge of this stitch is keeping it looking neat and clean.  It doesn't take much to create a messy look.  And for clothing, there's the additional issue of the order of work and how to make the various clothing sections work smoothly together.

What I've tried to to is think about which individual clothing parts logically sit atop one another and work in that order.

Here's what I've been working on thus far:

I started with the wife, with the center of the hat. . . but am still trying to decide what hat section would be best done next.  So I moved on to the little loops that form the collar. . . then the sleeves of her dress.


Next I stitched the left side of the bodice. . . and started on the right side.  The left side I like, but I'm still fussing to get the right side look balanced with the left side. While I stewed about that, I stitched the right side of the skirt.  This shows some of the issues with stitching these complex shapes neatly.  In this section I added several partial rows to make the skirt shape flare out a bit.  Even done as neatly as humanly possible, they tend to look a little messy.


There's a little section of what I assume is an underskirt of some kind along the left side of the skirt.  Since I think the other skirt sections would lie above this, I stitched it next.  It's done in ceylon stitch, but since the shape is so tiny, the section begins with a single column, widening out to two.  I love that the petticoat is bright red!  What fun.


What's next?  I think I'll work on the left side of the skirt. . . then the center apron.  I'll leave the rest of the bodice for last since it looks rather tricky. . . with that uncooperative right side of the bodice to unstitch and redo. . .then a wide detached lapel and collar that sits atop the tan main part of the bodice.

Friday, July 7, 2017

Do the Funky Chicken

Yup!  I'm on a roll.  So onwards . . .

I decided to tackle the two little funky birds that the instructions says are chickens.  OK, I guess that's likely since it's a pastoral scene, but they sure don't look like any chickens I've ever seen.   And they're tricky since they're really quite small.

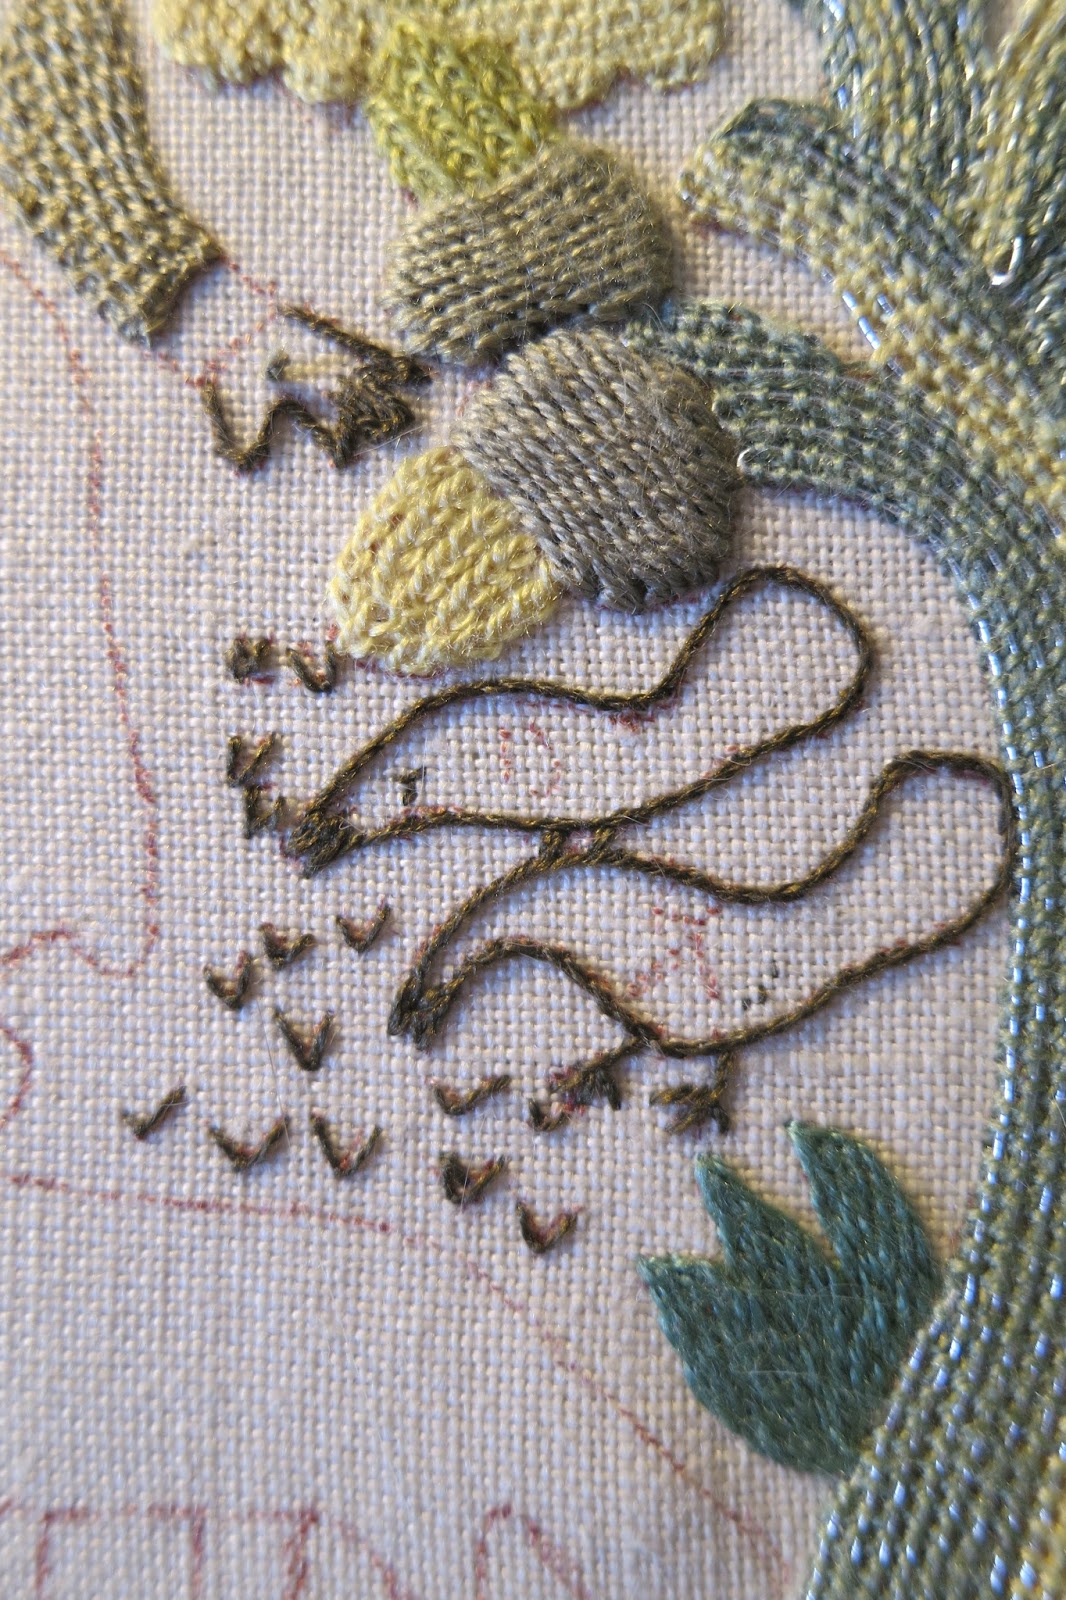
I started by doing the feet, legs, and beaks in stem stitch as specified in the instructions.  Then I backstitched an outline around the entire shapes.  The instructions do not specify doing outlines of many of these detached button hole stitched shapes, but I think it's really hard to get started on the detached buttonhole without an outline, and I think it results in a cleaner overall look.


Both birds are filled with simple detached buttonhole, but the heads are worked in gold over a gold return thread, while the bodies and tails are dark brown silk over the gold return.

Like many of these shapes, working them requires a well thought out strategy.  In this case, I worked with three needles.  With needle 1, I laid a line of gold return thread.  With gold thread in needle 2, starting on the left hand side, I worked enough stitches to cover the head area.  Then I carefully brought up needle 3 with dark brown thread (then sunk needle 2 to the back), and worked the remainder of the row. . . then repeated the process for the rest of the shapes.

I'm pretty happy with the results. . . but am wondering whether they need eyes or not ???


Saturday, July 1, 2017

Round and Round We Go

I'm happy to report that I've gone on to complete the "sprig" as started in the last post.

The quirkiness continues in the "flowers" -- both big round spheres that are worked in spiral trellis stitch using two colors in the needle so the result is sort of tweed-like.

Thistle-Threads has excellent instructions for this stitch here.  The first photo below shows the completed green and yellow flower and the backstitched outline for the larger flower.  The backstitch provides a scaffolding for the stitch.


Here are two photos of the stitch being worked.  First, the needle is inserted from the center of the shape outwards, then the working thread is looped counter-clockwise around the needle.  Pulled tight, this creates a series of knots that creates the stitch pattern.

In the photo, it looks like I'm going from the outside towards the inside, but I'm not.  Usually you'd use a tapestry needle with a blunt point for this stitch.  But I find that towards the center, I often need a sharp point to help find the little tiny spaces.  So I use an embroidery sharp, and just stitch "eye first" when I need a blunt point.  That's what's happening here.


For me, the tricky part of this stitch is getting the little knots to sit close to the previous row instead of floating all over the place.  What works for me it placing the needle into the loose knot, then pulling the knot tight as the needle holds it where it belongs next to the previous row.  


Here's the completed monster flower motif.  (It's almost as big as the woman who stands just to the right.)  The photo below shows a close up of the stitch.  I think you can see some of the spiral pattern, but the tweeding of the two colors does minimize the spiral look.


Wednesday, June 21, 2017

In the Words of Scarett O'Hara

So. . . yet again. . . indecision has put a sudden prolonged stop to all stitching.  Attempts to diagnose the problem with the metallic thread and up and down detached buttonhole remain unsuccessful.  Aaarrggghhhh!

Hence, Scarlett's advice.  I'll think about that tomorrow.

In the meantime, I decided to move on to several new motifs that should be less problematic.

First is a multicolored red and yellow butterfly, done in stem stitch:


Then on to a strange oversized stem with two leaves and two round shapes that I assume are flowers of some sort.

The stem has a tweedy look achieved by using two different colored threads - green and reddish brown -- done in an attached buttonhole / blanket stitch.  To my mind it's a rather odd effect.  Here's that odd stem with one of the two leaves stitched with a chain stitch outline filled with detached buttonhole.  

Above it, you can see the chain stitch (actually reverse chain) outline for the second leaf.  


And here is the completed second leaf:


In both of these leaves, I used the temporary tacking technique for the buttonhole return thread as shown in my blog post of January 8, 2013.  Although the lines of stitching here are not as sharply angled as those in the other post, I am reasonably satisfied with the neatness of the buttonhole filling of these irregular shapes.

Saturday, February 18, 2017

Will It Stay or Will It Go?

Remember those threads behaving badly?

Well, there's a whole other silver and gold acorn, but this one has a different stitch for the acorn cap.

Silver and gold acorn 1 had a cap stitched with the same wrapping technique as the acorns stitched with silk.  But the second one has a cap stitched in an alternating up and down detached buttonhole.

I find this to be a tricky stitch under any circumstances, but the characteristics of this thread (Access Commodities Tambour #7) made it especially challenging.   The photos below represent attempt 5 and I haven't decided whether or not I want to try one more time with attempt 6.

After several tries, I determined that an outline of the whole shape was the way to go:


I also had developed another "cheat" to help control the stitch and thread.  The photo below shows the first row, worked over a needle to help stabilize the thread.  Here you can see how the stitch is supposed to look, with a series of little bundles of two threads.  At this point, things are really looking good!


Here's the cap with several rows worked the same way.  . . . looking OK, but you can see how in the center rows, the little bundles are tending to disappear.  What's happening is that this metallic does not act like a wire in that it does not "crimp" into a shape that stays in place.  But unlike a silk thread, it does retain a lot of :"bounce" that makes it tend to bounce back out of the little bundles when the stabilization is removed.  So instead of a clear pattern of little bundled threads, it looks more like an overall pattern of loops.


Here's the finished shape. . . with the pattern of alternating bundles pretty well absorbed into the loopy texture.  


So, does it stay or does it go?   If I had a really good idea on how to keep the little bundles in place, I'd probably take it out and restitch it.  But so far. . . inspiration has yet to hit.

Stay tuned.